
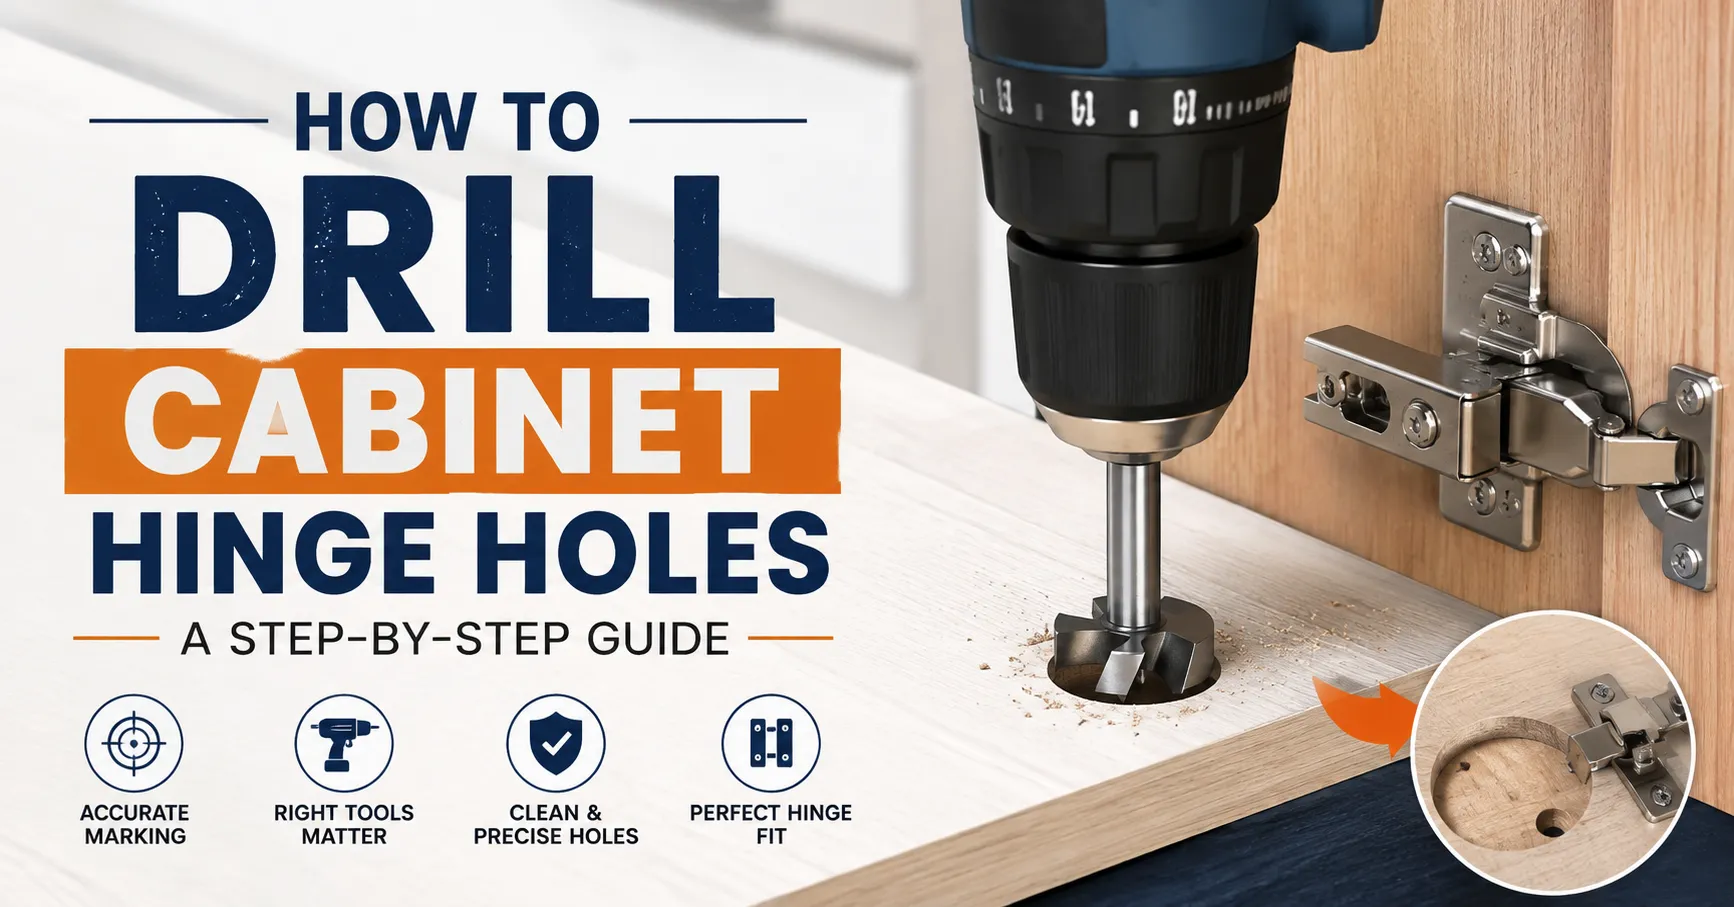
Learning how to drill cabinet hinge holes correctly can make cabinet installation much easier, especially when you are replacing old hinges or installing concealed European-style hinges. The most important part is getting the hinge cup position, hole diameter, and drilling depth right. A small measurement error can cause the door to sit unevenly, create excessive gaps, or even damage the cabinet door. For many concealed hinges, a 35 mm Forstner bit is used to create the large cup hole, followed by smaller pilot holes for the mounting screws. However, exact measurements vary between hinge models, so always check the manufacturer’s specifications before drilling. With accurate marking, a sharp drill bit, controlled drilling depth, and a secure workpiece, you can create clean and reliable cabinet hinge holes without expensive equipment.
What Is Happening?
When you install a concealed cabinet hinge, you are normally creating two different types of holes.
The first is the large hinge cup hole. Many European-style concealed hinges use a 35 mm cup, which is why a 35 mm Forstner bit is commonly used.
The second is the set of smaller mounting holes used to secure the hinge to the door.
The large cup hole must be positioned accurately because the hinge needs to sit flush inside the door. If it is too close to the edge, too far inward, or drilled too deeply, the hinge may not operate correctly.
The correct position also depends on the hinge design and the door’s overlay. If you are unsure about overlay measurements, see this guide on what overlay means on a cabinet hinge.
Most Likely Causes
If a cabinet hinge hole does not work properly, one of these problems is usually responsible:
1. Incorrect Hole Diameter
Using a drill bit that is too small or too large can prevent the hinge cup from fitting correctly.
2. Wrong Hinge Position
Even a few millimeters of error can change the way the cabinet door closes.
3. Drilling Too Deep
A hinge cup hole that is too deep can weaken the door or potentially break through the front surface.
4. Incorrect Overlay Measurement
Different hinges are designed for different overlay configurations. Always verify the hinge specifications before marking the door.
5. Drill Wandering
A dull bit or unstable drill can cause the hole to move away from the marked center.
6. Door Not Properly Secured
If the door moves while drilling, the hinge hole can become inaccurate or damaged.
7. Using the Wrong Hinge
Not every cabinet hinge uses the same drilling pattern. Check the manufacturer’s installation diagram before cutting.
Quick Diagnosis
Before drilling, use this simple checklist:
- Check the hinge model and installation instructions.
- Confirm whether the hinge requires a 35 mm cup hole.
- Measure the cabinet door thickness.
- Determine the required hinge cup position.
- Confirm the required drilling depth.
- Check the door overlay.
- Mark both hinge positions from the same reference edge.
- Verify the screw-hole pattern.
- Test your measurements on scrap wood first.
For more information about positioning hinges correctly, see our guide to cabinet door hinge placement.
If everything matches the hinge manufacturer’s specifications, you are ready to drill.
Fix #1: Measure and Mark the Hinge Position
Accurate marking is the foundation of a successful cabinet hinge installation.
Start by placing the cabinet door on a stable, flat surface. Protect the finished surface with a clean cloth or piece of cardboard.
Determine where the upper and lower hinges will be installed. Many cabinet doors use two hinges, while taller or heavier doors may require additional hinges.
Measure from the same reference edge for both hinge positions. This keeps the hinges aligned.
Next, mark the center of each hinge cup according to the hinge manufacturer’s drilling template.
Do not assume that every 35 mm hinge uses exactly the same edge distance. The required position can vary between hinge designs.
Once the center marks are made, check them twice.
A useful technique is to make a small indentation at the center mark using an awl or sharp marking tool. This gives the Forstner bit a more defined starting point.
Before drilling the actual cabinet door, test the measurements on a scrap piece of material with similar thickness.
This simple test can prevent an expensive mistake.
Fix #2: Drill the 35 mm Hinge Cup Hole
For a typical concealed hinge that specifies a 35 mm cup, use a 35 mm Forstner bit.
A Forstner bit is useful because it produces a relatively clean, flat-bottomed hole when used correctly.
Step 1: Secure the Door
Clamp the cabinet door securely to your workbench.
Never try to hold the door by hand while drilling.
Step 2: Install the Bit
Install the correct 35 mm Forstner bit in your drill or drill press.
Make sure the bit is sharp and properly secured.
Step 3: Set the Drilling Depth
This is one of the most important steps.
Set a depth stop if your drill press has one. If you are using a handheld drill, use a depth collar or another reliable depth-control method.
Do not simply drill until the hinge cup fits.
The correct depth depends on the hinge design, so follow the manufacturer’s specification.
Step 4: Start Drilling
Place the center of the Forstner bit directly over your marked center point.
Keep the drill perpendicular to the door surface.
Apply steady pressure rather than forcing the bit through the material.
Periodically clear chips from the hole if necessary.
Step 5: Check the Hole
Stop at the specified depth and clean the hole.
Place the hinge cup into the hole without immediately installing the screws.
The hinge should sit properly without being forced.
Important: Do not drill through the cabinet door. Breaking through the finished face can permanently damage the door.
Fix #3: Drill the Hinge Screw Pilot Holes
After the cup hole is correctly drilled, position the hinge inside the hole.
Make sure the hinge is oriented correctly according to the manufacturer’s instructions.
Mark the screw-hole locations.
Remove the hinge and drill the appropriate pilot holes.
Use a pilot bit that is suitable for the cabinet-door material and the screws supplied with the hinge.
The pilot hole should help the screw enter accurately without splitting the material. Avoid using an excessively large drill bit because the screw needs sufficient material to grip.
Once the pilot holes are prepared, reinstall the hinge and tighten the screws evenly.
Do not overtighten them.
After the hinge is installed, attach the hinge to the cabinet and check the door alignment.
If the door requires adjustment, you can follow our guide on how to adjust a cabinet door hinge.
If None Works
If the hinge still does not fit after drilling, stop before making the hole larger.
First, recheck the hinge specifications.
Confirm:
- Cup diameter
- Cup depth
- Cup position
- Door thickness
- Overlay
- Screw-hole spacing
- Hinge orientation
If the cup hole is slightly misplaced, do not immediately enlarge it. Enlarging the hole may make the situation worse.
For a badly damaged screw area, a cabinet hinge repair plate may provide a better solution. See our guide on how to install a cabinet hinge repair plate.
If the hinge itself is unsuitable for your cabinet, replacing it with a compatible model may be easier than trying to modify the door.
For unusual cabinet designs, consider a different hinge style. For example, SOSS Model 204 invisible cabinet hinges use a completely different installation approach from standard European concealed hinges.
Recommended Hardware
Having the right tools makes drilling cabinet hinge holes much easier.
35 mm Forstner Bit
If your concealed hinge requires a 35 mm cup, a quality Forstner bit is the primary cutting tool.
Amazon recommendation: Look for a 35 mm Forstner bit with a sharp cutting edge and a shank compatible with your drill.
Cabinet Hinge Jig
A hinge drilling jig helps maintain consistent cup-hole positioning and screw-hole alignment.
This is particularly useful when installing multiple cabinet doors.
Amazon recommendation: Search for a 35 mm concealed cabinet hinge jig.
Depth Stop
A depth stop helps prevent accidentally drilling too deeply.
This is especially valuable when working with relatively thin cabinet doors.
Amazon recommendation: Look for a drill depth stop collar compatible with your drill bit.
Drill or Drill Press
A drill press provides better control and perpendicular drilling. A handheld drill can also work when used carefully with a stable setup.
Self-Centering Pilot Bit
A self-centering drill bit can make it easier to create accurately positioned screw pilot holes after the hinge cup has been drilled.
Measuring Tools
Keep a tape measure, combination square, ruler, pencil, and marking awl nearby.
For Amazon Associates links, place your actual affiliate links behind natural anchor text such as 35 mm Forstner bit, cabinet hinge drilling jig, and drill depth stop. Do not use unverified product URLs or invented ASINs.
Prevention
The easiest way to avoid cabinet hinge drilling mistakes is to slow down before making the first cut.
Follow these practices:
- Verify the hinge specifications first. Never assume all concealed hinges use identical measurements.
- Measure twice. Confirm every cup-hole position before drilling.
- Use a sharp Forstner bit. Dull bits can wander and produce poor results.
- Secure the cabinet door. Movement during drilling can ruin the hole.
- Control the drilling depth. Use a depth stop whenever possible.
- Test on scrap material. This allows you to confirm the hole position and depth.
- Use the same reference edge. Measure both hinges consistently.
- Check overlay before drilling. Correct placement depends partly on the door and cabinet configuration.
- Do not force the hinge into an incorrect hole.
- Adjust the finished door after installation. If the hinge is installed correctly but the door is misaligned, adjustment may solve the problem.
If you are working with older hardware, our guide on how to adjust old cabinet door hinges can help you determine whether adjustment or replacement is the better option.
For readers replacing several hinges at once, you can also review this 3-piece premier adjustable cabinet door set to understand the type of adjustable hardware commonly used for cabinet doors.
FAQ
Q: What size hole do I drill for a concealed cabinet hinge?
A: Many European concealed hinges require a 35 mm cup hole, but always verify the exact hinge specification before drilling.
Q: How deep should a cabinet hinge hole be?
A: The required depth varies by hinge model and door thickness. Follow the manufacturer’s drilling specification rather than using a universal depth.
Q: What drill bit is best for cabinet hinge holes?
A: A Forstner bit is commonly used because it creates a clean, flat-bottomed hole. A 35 mm Forstner bit is appropriate when the hinge specifically requires a 35 mm cup.
Q: Can I drill cabinet hinge holes without a jig?
A: Yes. You can drill them manually with accurate measurements and a stable setup, but a hinge jig makes repeatable positioning easier.
Q: How do I avoid drilling through the door?
A: Use the specified drilling depth and a depth stop. Test the setup on scrap material before drilling the finished door.
Q: Can I use a regular drill?
A: Yes. A handheld drill can work, although a drill press provides better control and helps keep the bit perpendicular.
Final Takeaway
The key to learning how to drill cabinet hinge holes is not simply choosing the correct drill bit. Accurate measurement, correct hinge specifications, controlled drilling depth, and stable positioning are equally important.
For many concealed hinges, a 35 mm Forstner bit is used for the hinge cup, followed by smaller pilot holes for the mounting screws. However, always check the specific hinge manufacturer’s measurements before drilling because cup diameter, depth, and placement can vary.
If you measure carefully, test on scrap material, secure the cabinet door, and control your drilling depth, you can create clean hinge holes and achieve a much more professional cabinet installation.